Customizable Christmas Favor Gift Box
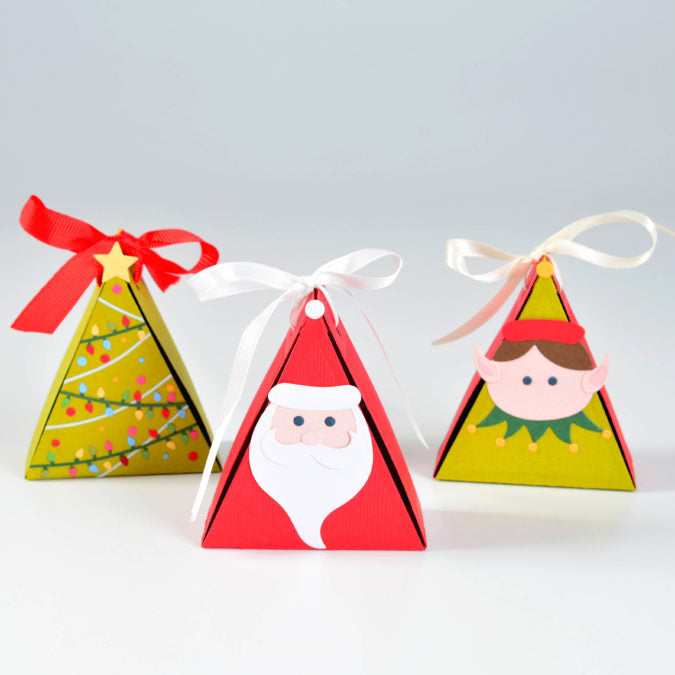
Christmas might be six months away but it's never too early to start planning, right?! One of our newest Thinlits Dies in the Sizzix Chapter 3 release, the Christmas Character Favor Gift Box, offers the ability to customize holiday gift giving, whilst also working perfectly for holiday home decor.
The Christmas Favor Gift Box is perfectly sized to be filled with sweet treats and small gifts for the upcoming Festive season. Follow my step by step assembly instructions below to see how this box comes together - quick and easily!

What you will need:
- Sizzix® Big Shot® Machine (660200)
- Sizzix® Thinlits® Die Set 15PK - Christmas Character Box (665338)
- Sizzix Making Essential - Express Glue, 120ml (664576)
- Sizzix Making Tool - Scissors, Small (664818)
- Sizzix Surfacez - 10 Festive Colored Cardstock 60 Pack (663783)
- Sizzix Surfacez - 10 Neutral Colored Cardstock 60 Pack (663780)
- Ribbon
How to make:

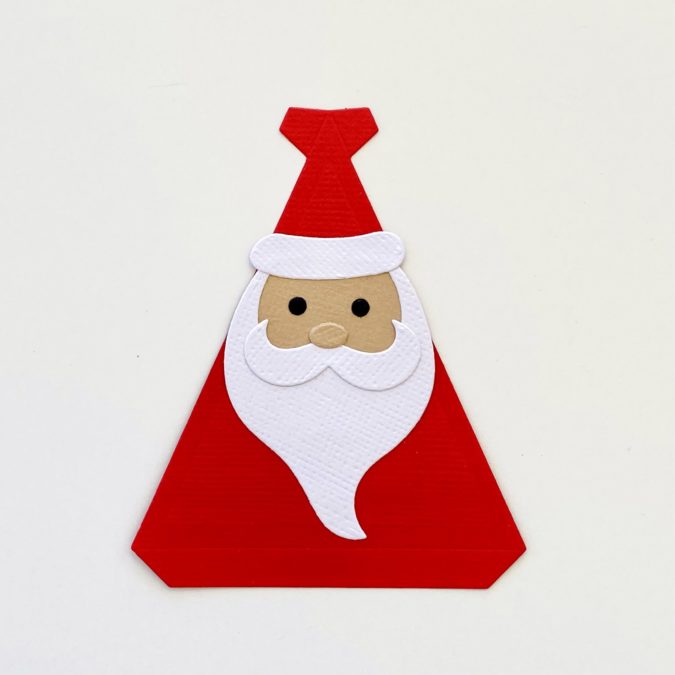
- Die-cut out of a desired Festive-colored cardstock two triangles, 2 side tabs with hole punches, one rectangle base and one rectangle topper element from the Christmas Character Box die set. Additionally, die-cut the desired character elements that make up the Santa, Elf or Christmas Tree from the same die set. I chose to create the Santa box, so I die-cut one face, beard, mustache, nose, hat trim, a large pom pom and two eyes from various Neutral-colored cardstock.

2. Adhere the face elements one of the triangles with liquid adhesive, arranging the face on the side of the triangle with the score lines facing up.

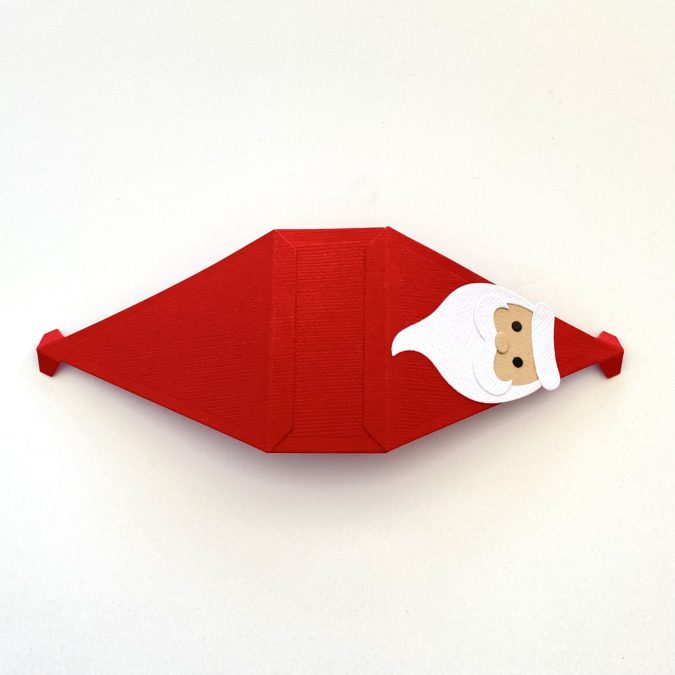
3. Fold along the score lines on all die-cut elements, folding all the tabs in the same direction on each element.

4. Adhere the two triangle tabs along both of the long sides of the rectangle base element, lining up the folded score line with the edge of the rectangle.

5. Adhere the two side tabs along both of the short sides of the rectangle base element, lining up the folded score line with the edge of the rectangle.

6. Flip the box right side up. Pull the two triangle sides up to meet in the middle and adhere the two tabs at the top of each triangle to the inside edge of the small rectangle topper.

7. Fill the box with desired content and then pull the two side tabs up towards the center of the box. Close the box by running a cut piece of ribbon or twine through the hole punches and tying the ribbon into a bow at the top. Finally, adhere the die cut pom pom to where the point of the triangle to create the appearance of hat topper.
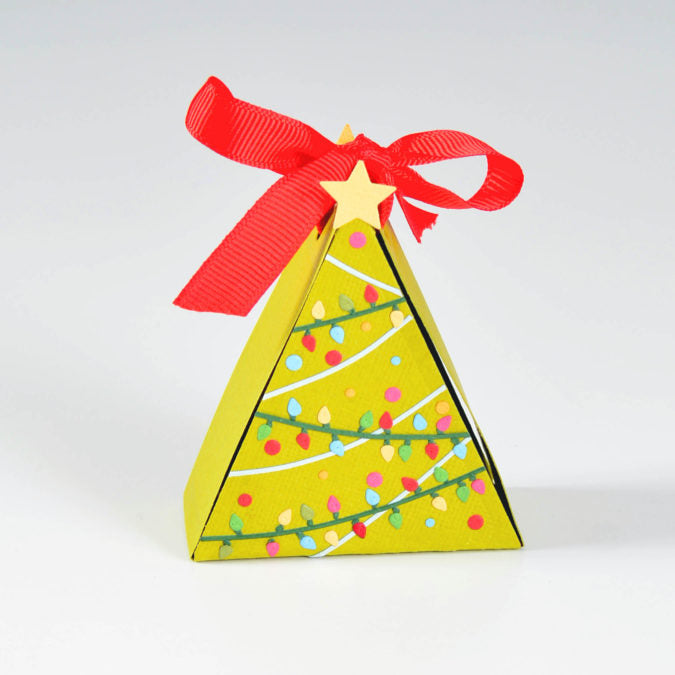
Create additional holiday characters such as the Elf or Christmas tree simply by changing out the decorating elements, the assembly of the box will be the same for any design you would like to use! I also love that the box just by itself can be used for year round gift-giving and favor boxes.


I can't wait to create some of these Christmas Character Favor Gift Boxes for my loved ones for Christmas! The box itself would even make a great base for an advent calendar!
Until next time...happy crafting!
We love to see your creations! Remember to tag us in your makes using the hashtag #mymakingstory!
Crafted by Sizzix designer Alexis Trimble
-
Posted in
Papercrafts, Tutorials and Inspiration


